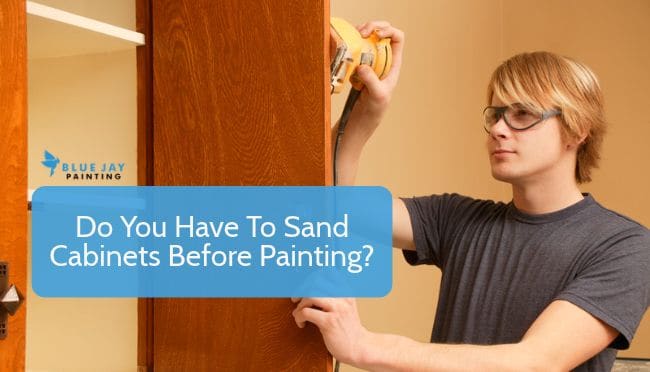
Fresh paint can make tired kitchen cabinets look brand new. But before you crack open that can, there’s one question that decides whether your hard work lasts for years or starts peeling in months. That question is all about surface prep.
Sanding cabinets before painting is one of those steps that many DIY homeowners want to skip. It’s dusty, it takes time, and it feels like extra effort. Yet the smoothness and grip you create during prep is what helps paint stick and stay put.
At Blue Jay Painting, we’ve spent over 20 years painting homes across North Alabama. Below, we’ll walk you through when sanding is a must, when you can get away with skipping it, and how to prep like a pro.
Why Surface Preparation Matters So Much
 Paint needs something to hold onto. Cabinets collect grease, dust, and fingerprints, and most factory finishes are slick by design. Without proper prep, even premium paint can flake right off.
Think of it this way: good prep is the foundation of a lasting finish. A quick coat over a dirty, glossy door might look fine on day one. A few months of daily use tells a very different story.
Adhesion is the real goal here. Whether you sand, degloss, or prime, you’re creating a surface that grips paint tightly and resists chips.
Do You Always Have To Sand Cabinets?
Short answer: not always, but often. Sanding gives you the best possible bond, though there are modern products that let you cut corners in the right situations.
The trick is knowing your cabinets. The material, the current finish, and the condition all play a role in whether you can skip the sandpaper.
When Sanding Is Mandatory
Some situations leave no room for shortcuts. Skip sanding in these cases and you’re setting yourself up for a redo. You must sand when you’re dealing with:
- Peeling or chipping paint that needs to be smoothed and feathered
- High-gloss finishes that are too slick for paint or primer to grip
- Cabinets with dents, scratches, or rough patches that need leveling
- Old oil-based paint you plan to cover with a new coat
- Any surface with heavy grease buildup that won’t fully clean off
High-gloss surfaces are the biggest culprit. That shine is basically a sealed barrier, and no primer works miracles on a mirror-smooth door.
 When You Might Skip Sanding
Not every project demands a full sanding session. You can often skip or minimize it when:
- Your cabinets have a matte or already-dull finish
- The existing paint is in solid shape with no peeling
- You’re using a high-quality bonding primer or liquid deglosser
- The material is a paintable laminate rated for adhesion products
Even then, a light scuff sanding rarely hurts. A quick pass with fine-grit paper is cheap insurance for a durable finish.
Step-by-Step: How To Prep Cabinets Before Painting
Ready to get started? Follow this order to save yourself headaches and get results that hold up to daily kitchen life.
- Remove the doors and hardware. Take off hinges, knobs, and pulls. Label each door so reassembly is painless.
- Clean every surface thoroughly. Use a degreaser to strip away oils, food splatter, and grime. Kitchen cabinets hide more grease than you’d expect.
- Sand or degloss. Scuff the surface with sandpaper or apply a liquid deglosser to dull the shine and open up the finish.
- Wipe down the dust. Use a tack cloth or damp rag to clear away every speck of sanding residue.
- Fill any imperfections. Patch dents and holes with wood filler, then sand those spots smooth.
- Apply a bonding primer. Prime the surface for even color and stronger adhesion.
- Paint in thin coats. Two or three light coats beat one heavy layer every time. Let each coat cure fully.
Patience during these steps pays off. Rushing the prep is the most common reason cabinet paint jobs fail.
Sanding vs. Liquid Deglossers vs. No-Sand Primers
Each prep method has its place. Here’s how they stack up so you can pick the right approach for your project.
| Method | Pros | Cons |
| Sanding | Best adhesion possible; smooths rough spots; works on any finish | Messy and dusty; time-consuming; needs cleanup |
| Liquid Deglosser | No dust; faster than sanding; dulls glossy surfaces well | Strong fumes; doesn’t fix dents or rough areas; needs careful application |
| No-Sand Primer | Quickest option; skips dust and chemicals; good for matte surfaces | Weaker bond on high-gloss finishes; not ideal for damaged cabinets |
The right choice depends on your cabinet condition. For heavily worn or glossy doors, sanding still wins. For lightly used matte cabinets, a deglosser or bonding primer can save real time.
Choosing The Right Materials
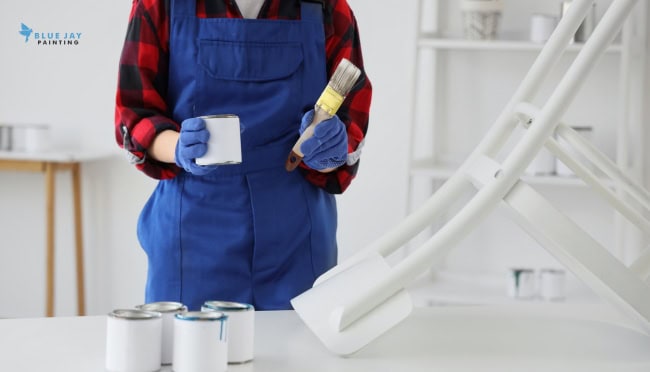 Quality products make a noticeable difference in how long your finish lasts. We primarily use Sherwin-Williams paints on our jobs for exactly this reason.
Cheap paint and skipped prep are a bad combo. Invest in a solid bonding primer and durable cabinet-grade paint, and your kitchen will thank you for years.
Frequently Asked Questions
Can I just use a primer instead of sanding?
Sometimes, yes. A quality bonding primer can replace sanding on matte or lightly finished cabinets that are in good shape. On high-gloss or peeling surfaces, though, primer alone won’t grip well enough, so a light scuff sanding is still your safest bet.
What grit sandpaper is best for kitchen cabinets?
For most cabinet prep, reach for 120 to 150 grit to dull the finish and smooth minor flaws. If you’re removing old paint or leveling rough spots, start coarser around 80 to 100 grit. Finish with a fine grit like 220 between coats for a silky-smooth result.
How long does it take to prep cabinets for painting?
Prep time depends on your kitchen size and cabinet condition. A typical kitchen takes a full day or two for cleaning, sanding, and priming when done right. Skipping steps to save time usually costs more later.
Do laminate cabinets need sanding too?
Laminate needs special care since paint struggles to stick to its slick surface. A light scuff sanding plus a bonding primer made for laminate gives you the strongest hold.
Ready For Cabinets That Look Brand New?
Prepping and painting cabinets is doable, but it’s detailed work that rewards experience. If you’d rather skip the dust and get a flawless, long-lasting finish, we’re here to help.
Blue Jay Painting is a family-owned team serving Madison, Huntsville, Decatur, and communities across North Central Alabama. We treat every home like our own and stay until the job is done right.
Call us today at 256-836-9695 for your free quote. Let’s bring your cabinets back to life together.
Recent Comments